How to Snow Plow a Parking Lot
Here you will find some basic pointers on how to properly plow a parking lot. This is not an exhaustive list, but it will give you a feel for the basics.
Pre-Season Snow Removal Preparation
The biggest factor for success in snow removal is the pre-season preparation. Like most of life, this old adage holds true, “Failing to plan is planning to fail.”
- You need to plan where you are going to put the snow. Take these things into account.
- Put snow where water from melting snow will easily drain off of the parking lot and not where melting/refreezing snow will create a new slip and fall danger.
- Avoid putting the snow near the building
- Avoid putting snow near entrances to the street – the pile will block visibility and create a hazard
- Put snow where it will minimize taking up parking spaces.
- Put snow where people feel like it is not in the way of visiting your building.
- Map where you will put the snow. Yes, we literally mean “draw a map of your property and mark where you will stick the snow”
- Identify, map, and mark hazards
- Anything that sticks up above the pavement is a hazard and significantly unleveled areas of the pavement (like a big bump or dip) are hazards too.
- Anything that needs to be gingerly plowed around (like landscaping elements that don’t respond well to a plow blade or snow stacking)
- Use plow markers to identify where hazards are hiding.
- Use the same map that tells you where to put the snow to tell you where all these hazards are
- Identify what service levels need to be provided at what times of the day.
- Some places need to have a perfectly clear lot and walkways during business hours but it may not need any work during certain hours of the night.
- Do you have a “zero tolerance” property where during business hours you can’t have a spec of snow on walks or the parking lot? Or can you wait until there is two or more inches before the plow comes out. Can you just salt the lot when there is less than two inches?
- Think about how clean you need to keep your property to always ensure safety without unnecessarily driving up your costs.
- Will you use regular rock salt on your property, something that will melt snow and ice at very low temperatures, or will you use a product that is gentler on the concrete and landscaping?
- Order salt or ice melt BEFORE the season begins. You may have a hard time getting what you need at the price you want if it is a harsh winter and supplies are getting low.
Prepare Your Plow and Vehicle Before the Season Begins
- Ensure any necessary maintenance is done to your vehicle and snow plow.
- Double check the health of your truck battery. A battery that is performing at 80% of capacity may start your vehicle easily, but it may not hold up to hours of plowing because the hydraulics on snow plows tax your vehicle’s electrical system.
- Know how to use your plow! This fact should go without saying, but too many people think, “It is snow plowing, how hard can it be?” Read the user manual of your snow plow at least once to understand how to properly use your specific snow plow.
- Install your salt spreader and ensure it is in good working order.
Pre-Storm Snow Removal Work
- Double Check your equipment is working properly. Always check for leaks and damage to hydraulic hoses 24 hours before a winter storm.
- Pre-treat walks and parking areas when appropriate. A pre-treated surface will make snow removal easier. If there is freezing rain coming, proper pre-treatment can help ensure the walks remain safe through the storm.
- Fill your salt spreader.
- Get adequate sleep. People who are tired work slower and are more likely to have an accident.
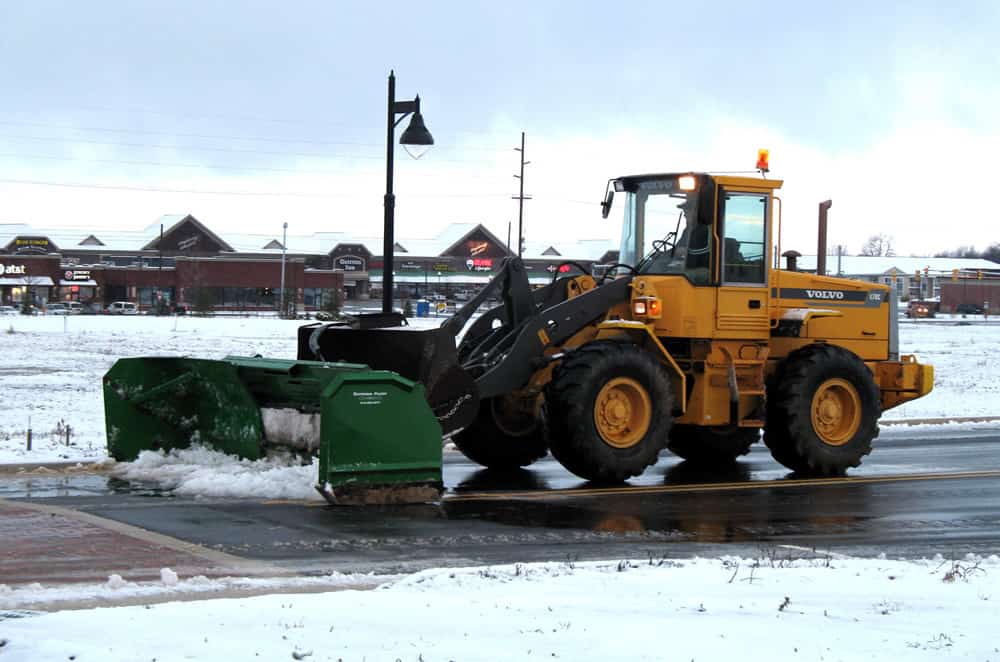
Plowing Your Lot
- Remove snow from walks and next to the building first. Those are obviously the most likely spots for slips and falls, but also you can push the snow to the lot and move it easily to where you will pile the snow.
- Ensure Handicap parking places and walks get high priority because some handicap people require a cleaner path to your building than the average person in order to cover the distance safely. This practice of prioritizing handicap pathways will also ensure ADA compliance.
- Start from nearest the building and work your way to the outer edges of the lot.
- Try to always move the snow in one push (in other words, don’t make a pile in the middle of the lot that you plan to move later)
- Plan on plowing when your lot is at its emptiest.
- Use extra caution and go slow when plowing next to curbs, vehicles, and other obstacles. The weight of the snow in front of the blade can cause a vehicle to move a bit to the side and if you are going too fast, you will bump something.
- Keep drains and catch basins clear to receive water from the melting snow.
- With heavy snow storms, plan on multiple plowings. Your plow can only move so much snow and waiting until the snow stops may not save you any work, especially with heavy snows.
- Plow in straight lines for greater efficiency.
- As you are coming up to the snow pile, slow down and start to raise the blade as you reach the pile to help with stacking (making the pile go higher) and to minimize impact on your equipment.
- When plowing on a slippery surface, start the vehicle in motion just before dropping the blade.
- Always pull the snow away from the building. Pushing snow into the building can damage the building or at the very least put excessive moisture next to the building in spring.
- Salt any slippery or potentially slippery surfaces to help ensure people do not fall.
Immediately After Plowing
- Document the work done and take pictures showing a clean lot and walks. This will help you avoid frivolous slip and fall lawsuits. Store this information in a safe place for 10 years (or however long your lawyer tells you to keep it).
- Clean your plow and look for damage. Repair any damage right away so your plow is ready for the next storm.
- Empty your spreader if you can. If it is over a week between snows and a little moisture got into your salt, the salt can harden into big chunks, forcing you to break up a huge salt chunk by hand.
- Evaluate how plowing the property went. Take notes to make plowing go better next time.
At the End of the Snow Plowing Season
- Document any changes you need to make in next year’s snow removal plan.
- Thoroughly clean and prepare your plow for long term storage. Follow the manufacturers’ directions for storing your equipment.
- Closely inspect your equipment for damage and repair the equipment BEFORE storing it for the summer. Repairing now ensures you don’t forget about any issues and you will beat the fall rush for repairs and new installs.
- Store your plow where people will not see it. “Out of sight, out of mind” creates a situation where your plow is least likely to be stolen.
Those are our top tips for plowing a lot. We hope you enjoyed reading through them!